新しくドメインを取得して、2つ目のブログを立ち上げることにしました。
自分用に手順をメモします。
Contents
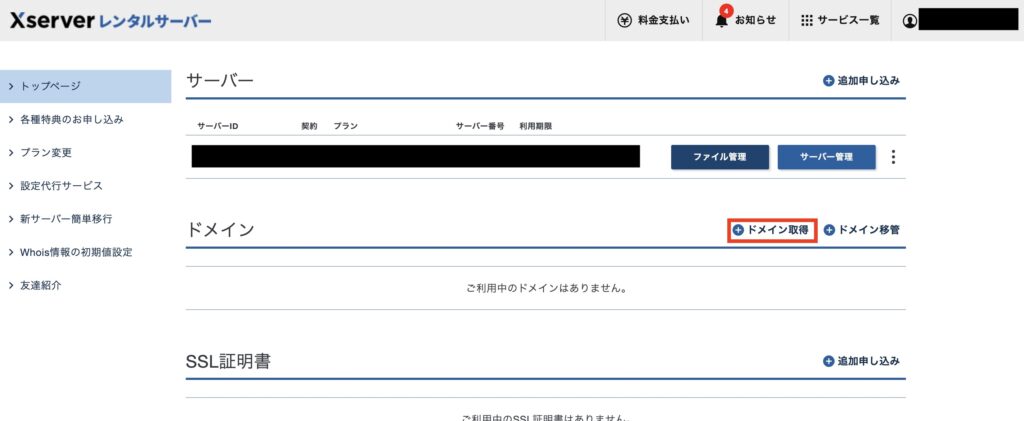
ドメイン取得
1.エックスサーバーにログインし、「ドメイン取得」をクリック
2.自分の使いたいドメインを検索
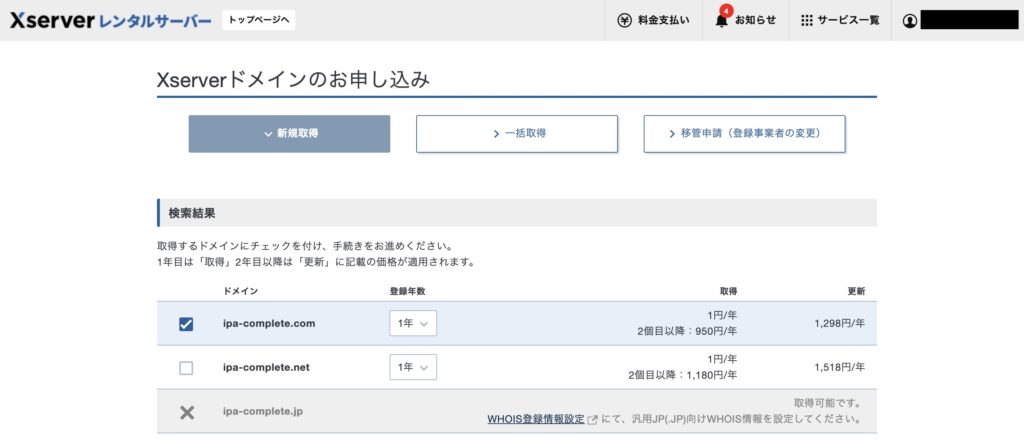
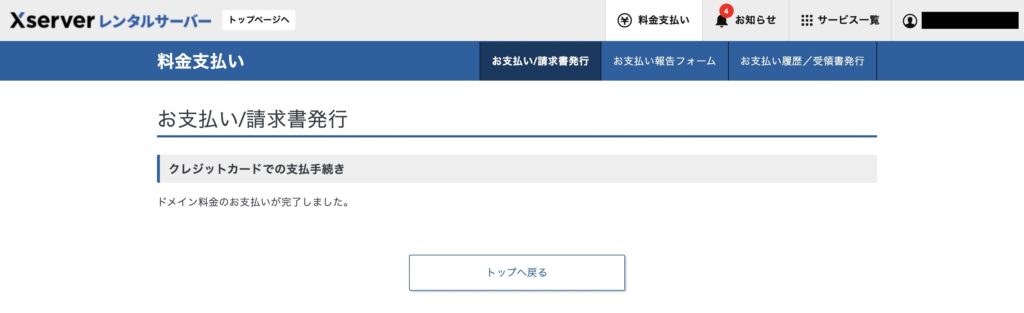
3.画面の指示に従い支払いを完了させる
ドメイン設定
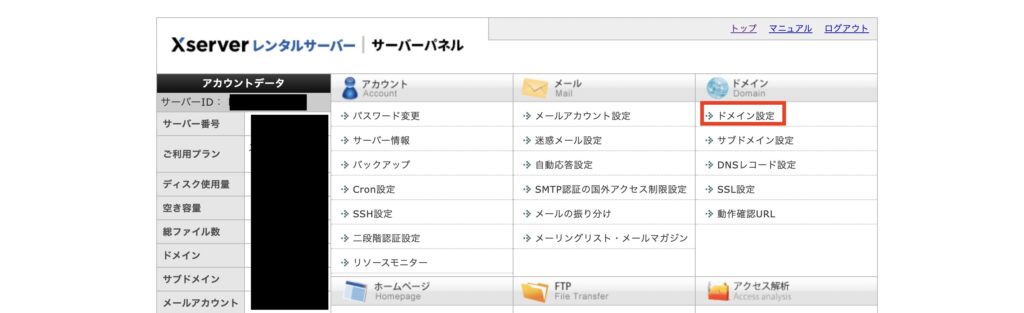
1.サーバーパネルにアクセスし、「ドメイン設定」を開く
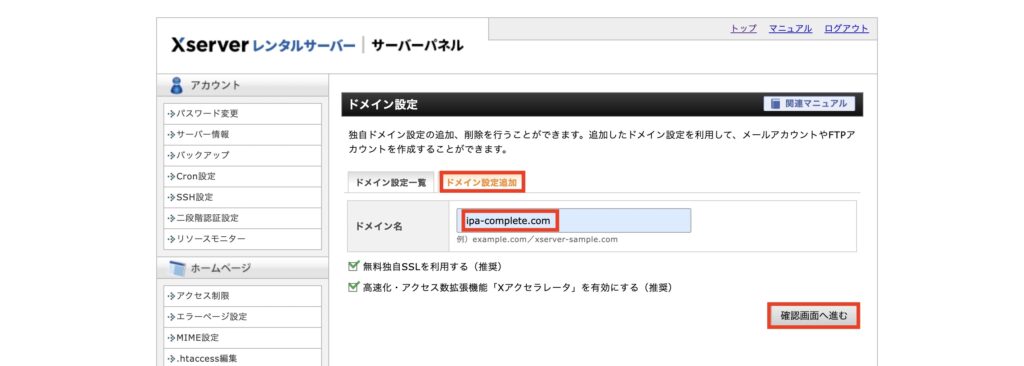
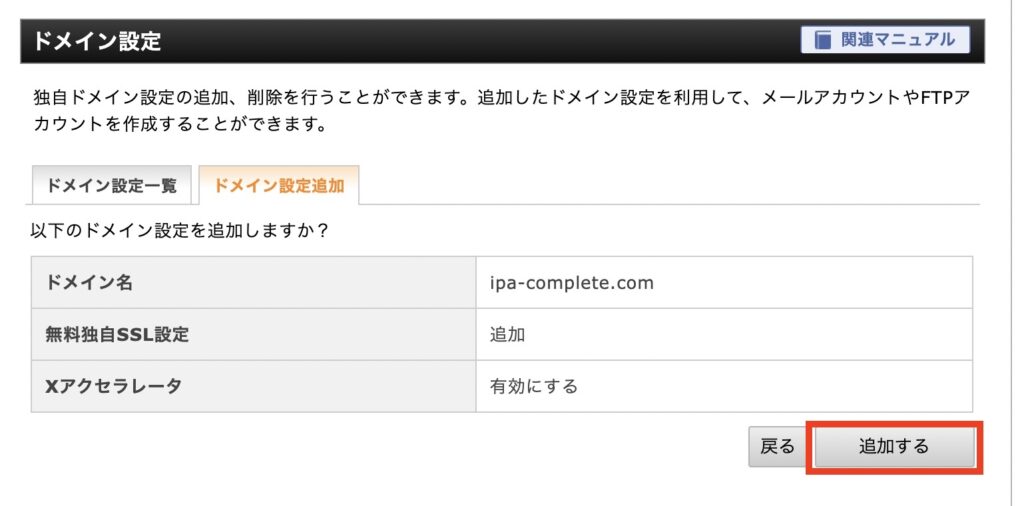
2.「ドメイン設定追加」のタブを開き、ドメイン名を入力して確認画面へ進む。
3.追加するをクリック
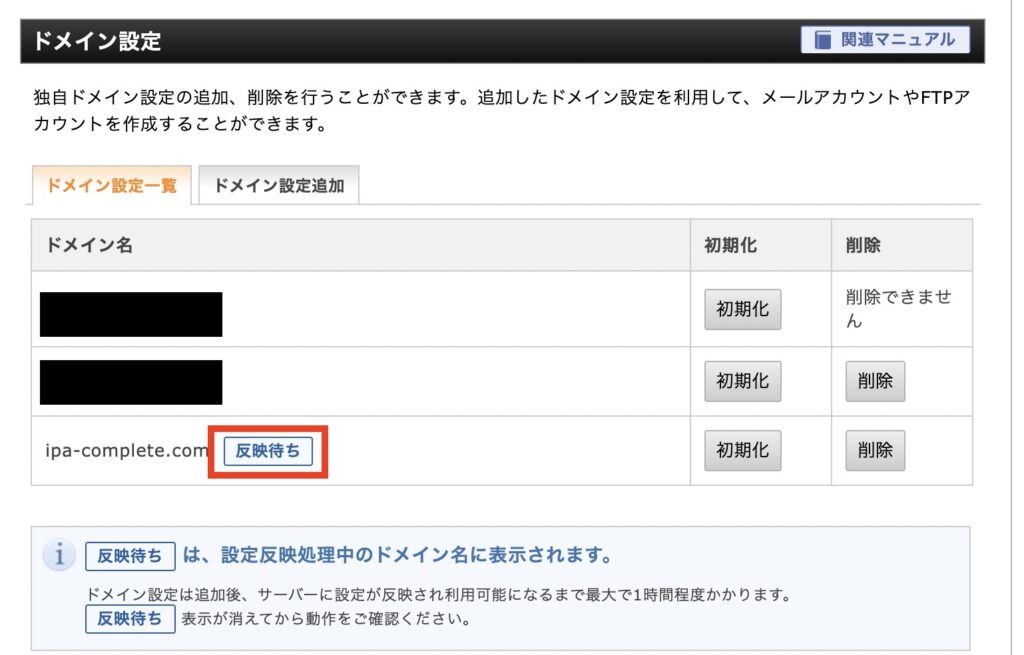
4.反映待ちの状態になる。
反映待ちの状態でも、次のWordPressのインストール手順に進んでOK
WordPressのインストール
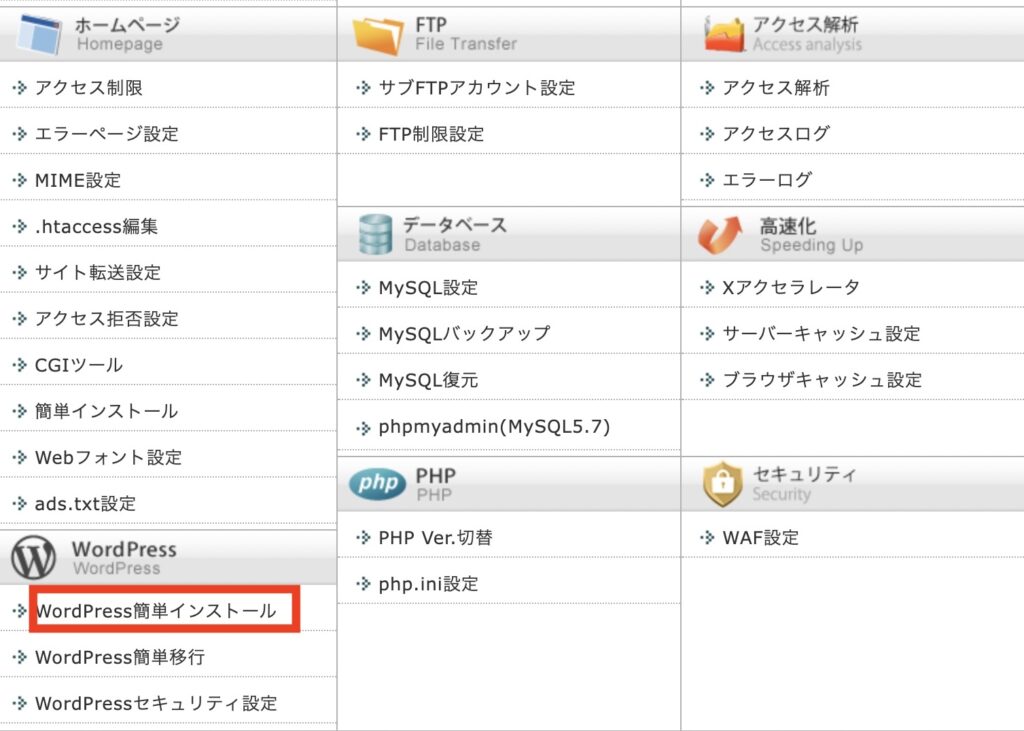
1.サーバーパネルの「WordPress簡単インストール」をクリック
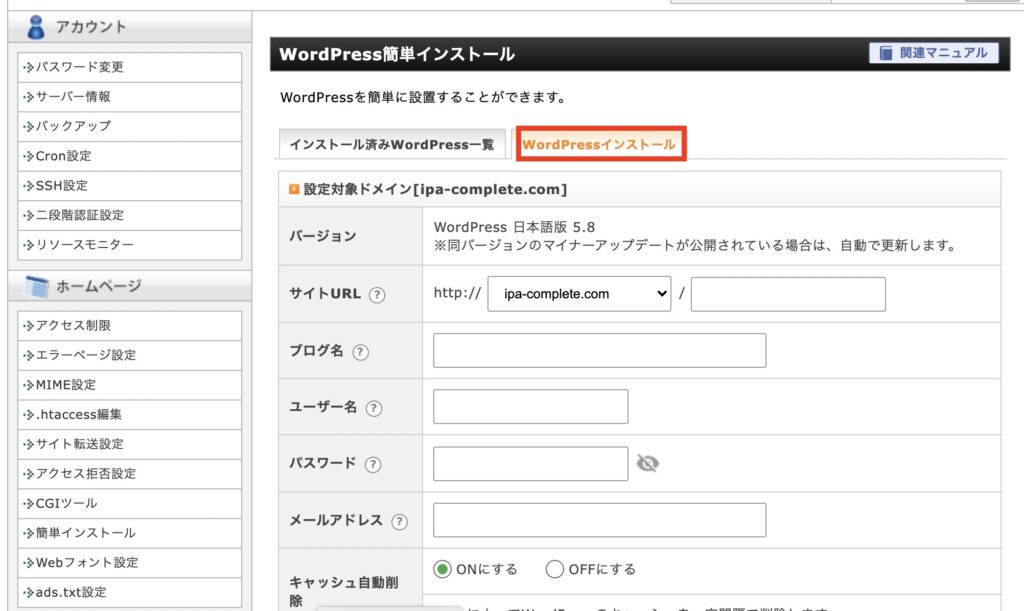
2.「WordPressインストール」タブをクリックし、必要事項を記入の上、確認画面に進み、インストールを行う。
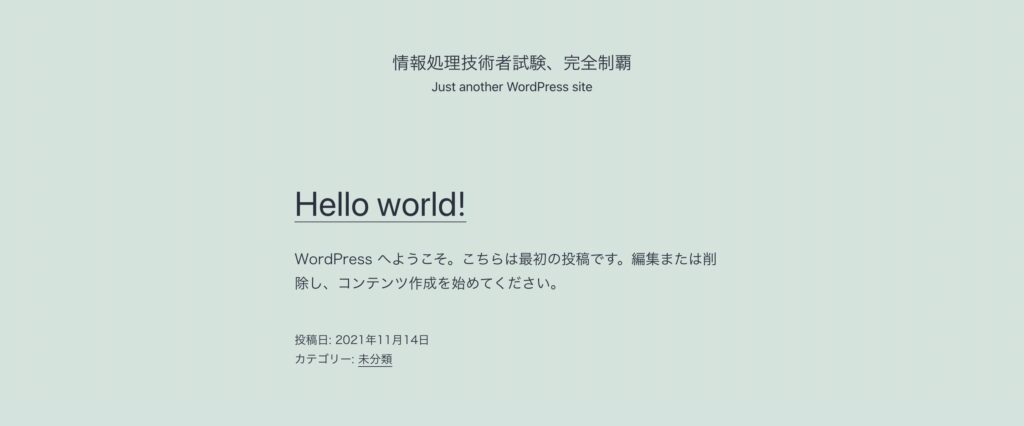
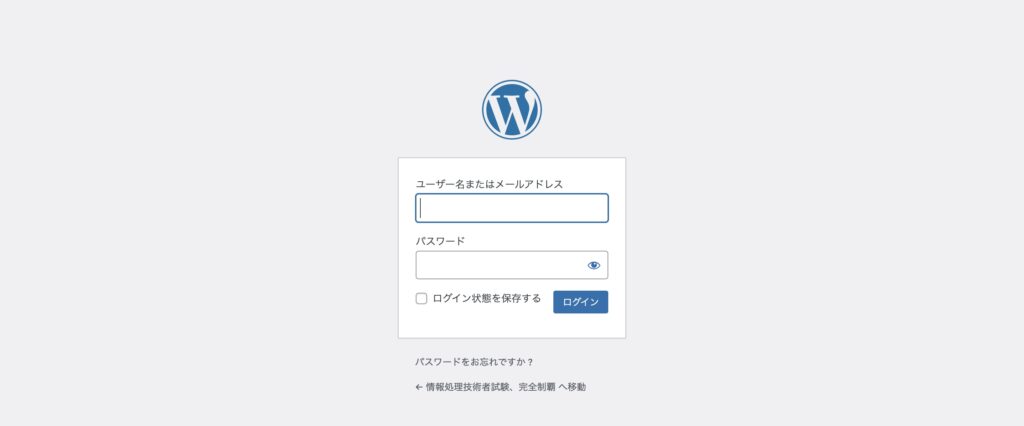
ページの確認
ブログページと、管理画面(ブログURLの後ろに「wp-admin」)に遷移して表示されることを確認。